
This article will explain two methods of adding meal transactions from a previous day: using the Batch Edit tool and moving the date of the line.
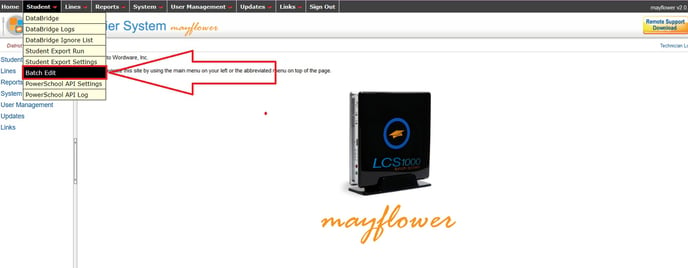
There are two ways to add meal transactions from a previous day. The first way is through the use of the Batch Edit tool. This method works best if you do not have a lot of transactions to add. To use the Batch Edit tool to add transactions, go to LCS1000>Students tab>Batch Edit.
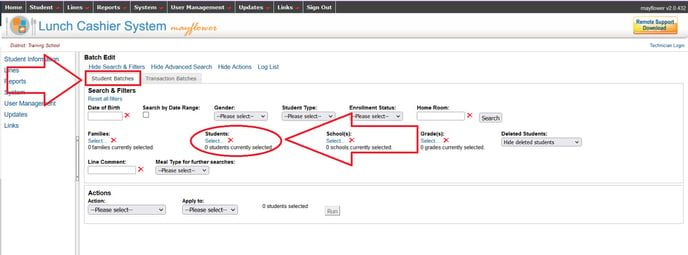
Go to the Student Batches tab and then click on Students select to search for the students and/or staff members who need a transaction added.
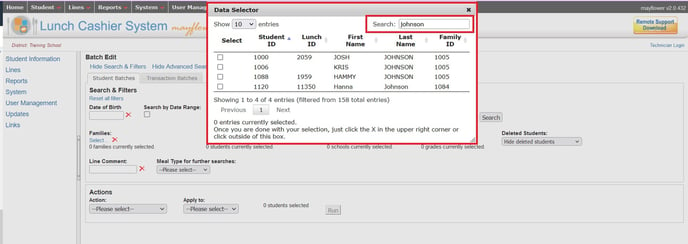
Use the Search option in the Data Selector box to find the students and/or staff. Select them by checking the box to the left of their name.
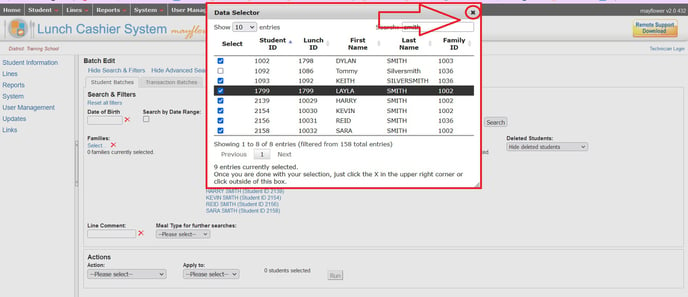
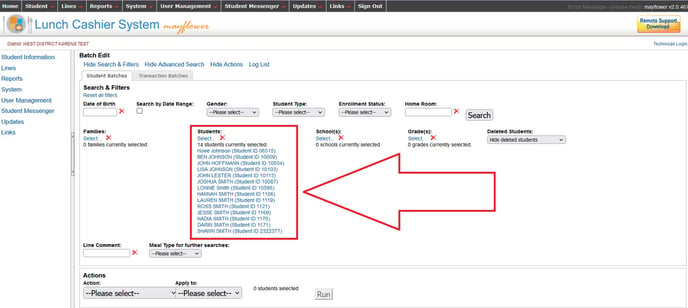
You can continue to use the search function and select names until you have everyone selected. When all student/staff have been selected, click the "X" in the upper right hand corner of the Data Selector to close the Data Selector box.
A list of the selected students/staff will appear.
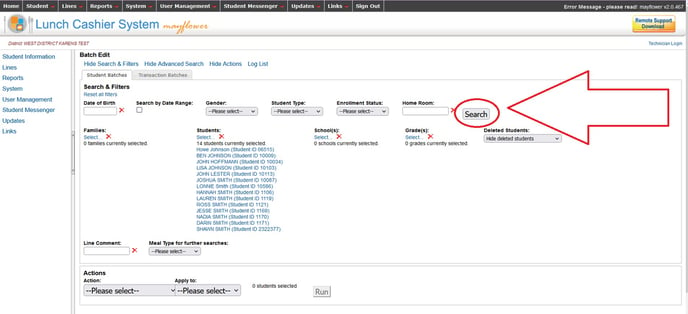
Click the Search button.
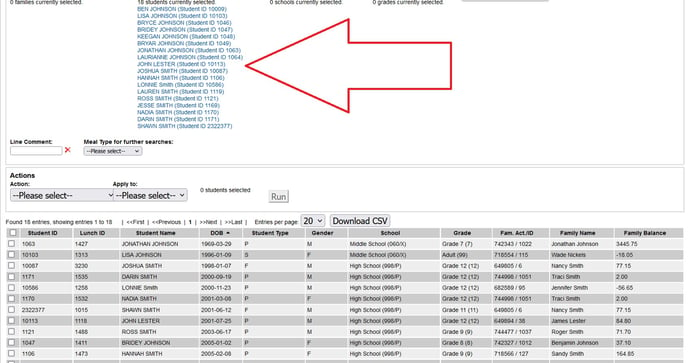
A list of your selected students/staff will appear toward the bottom of the page.
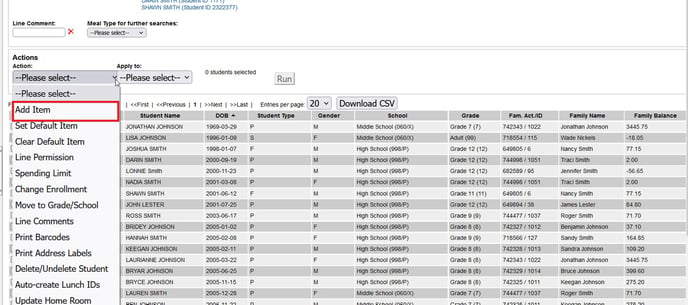
Under Actions, use the drop down menu/please select.
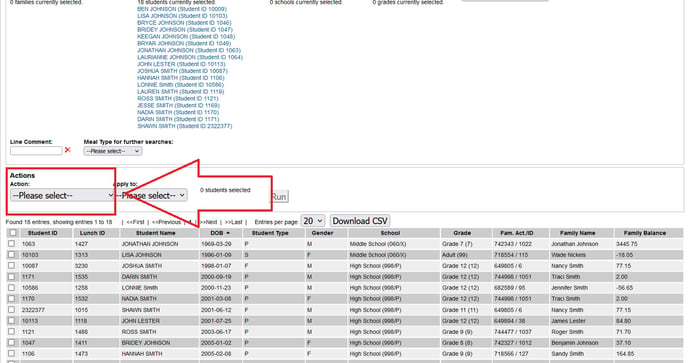
Select "Add Item."
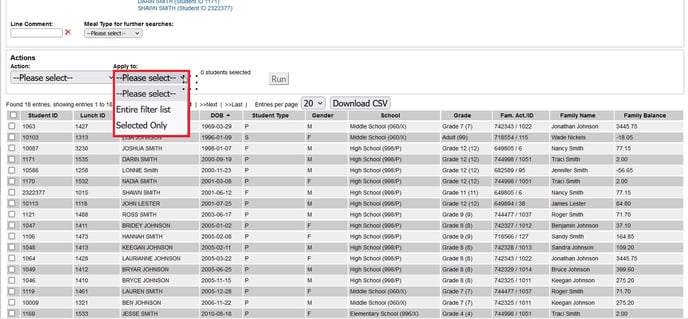
Under "Apply to" select either Entire filter list (to add the transaction to everyone on the list) or Selected Only to add the transactions just to those students/staff you have selected by checking the box to the left of their name.
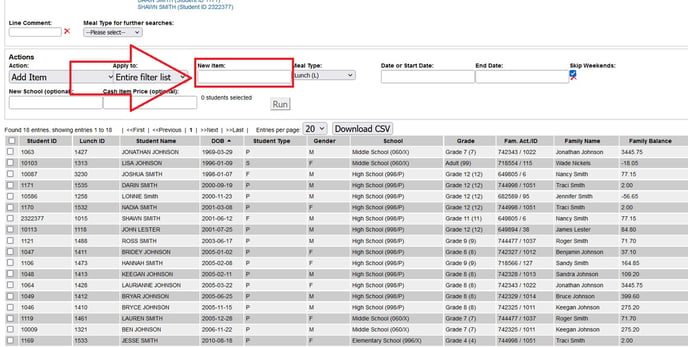
Click in the "New Item" box.
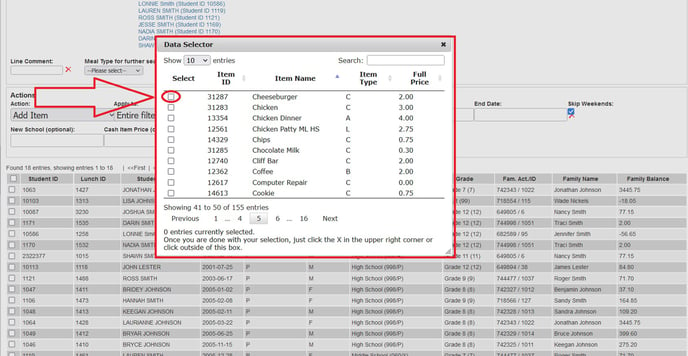
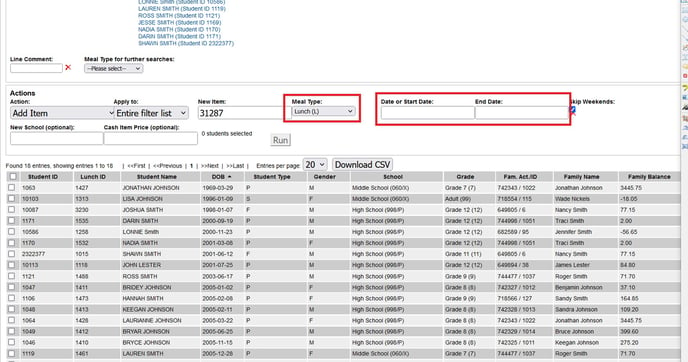
A data selector will appear. Use the Search field to search for the item you need to add. You may also sort by any of the column categories. For example, to alphabetize the list, click on "Item Name." To sort by item type, click on "Item Type." You can also sort by price (lowest to highest) by clicking on "Full Price."

Select the item by checking the box on the left.
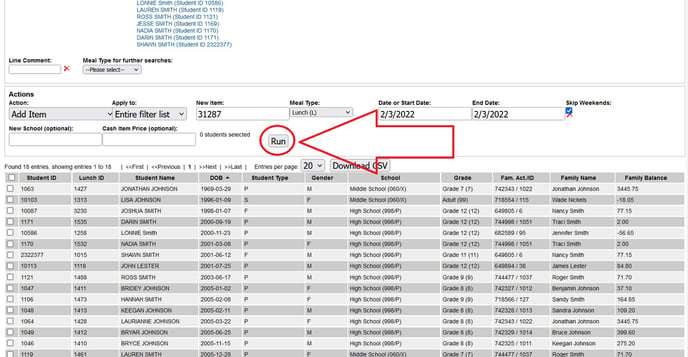
Select the Meal Type and then enter a date or range of dates. If you need to add the transaction for just one day, enter that day in both the Start Date and End Date. You will not need to enter anything in the New School or Cash Item Price fields unless you are adding this transaction to the (anonymous) Cash Account.
Review your entries and then click the "Run" button.
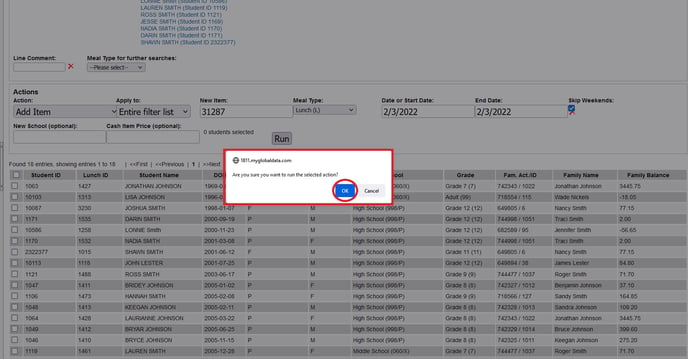
You will be asked to confirm the action. Click "OK."
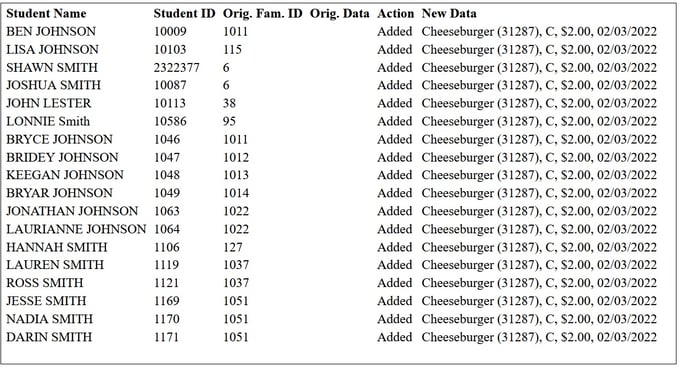
It is VERY important to check your work. To check your work, click on the "Log file" link in the Performing Action box.
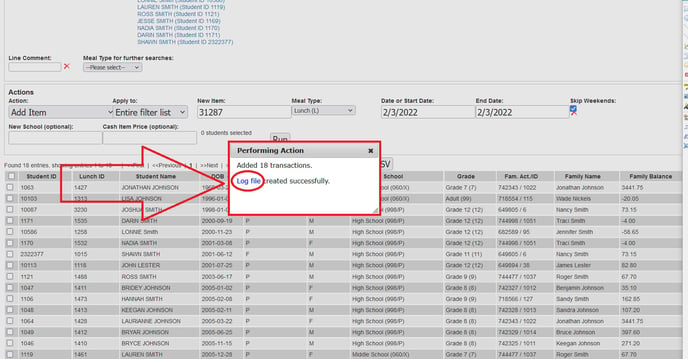
Use this file to check your work.
The second way to add meal transactions from a previous date is by using the serving line and moving the date of the line. This works best when you have a lot of transactions to add. You will need to do this before you open the lines for the current day! For example, if you start serving breakfast at 7:45 am, you will want to have all of the previous day's breakfast transactions in the line, the line moved and processed before 7:45. Similarly, if you start serving lunch at 10:45 am, you will want to have all of the previous day's lunch transactions in the line, the line moved and processed before 10:45.
The process is as follows:
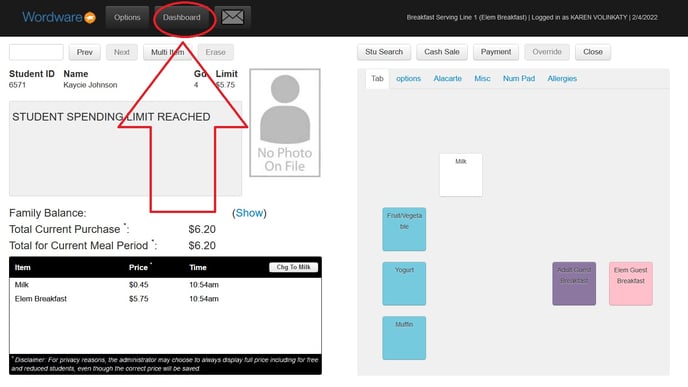
Open the serving line (prior to entering any transactions for the current day) and enter the transactions for the day you missed. When you have entered all of the transactions, click on Dashboard to exit the line dashboard.
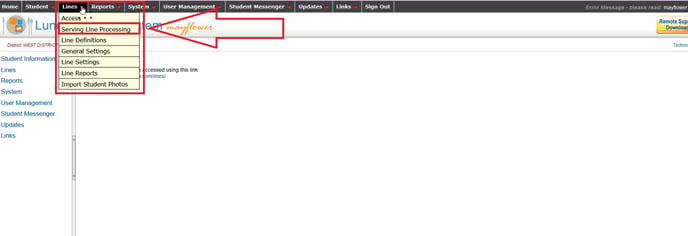
Next, in the LCS Admin site, go to the Lines tab>Serving Line Processing.
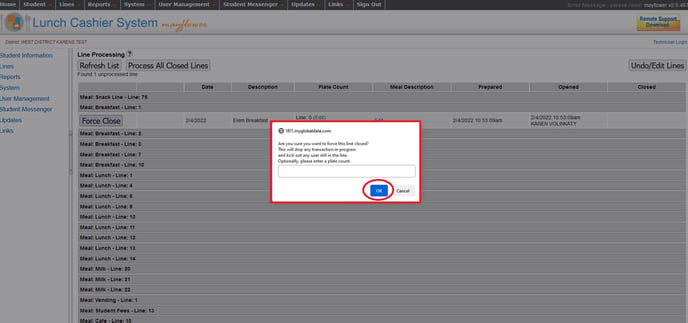
Close/Force Close the line but DO NOT process it!
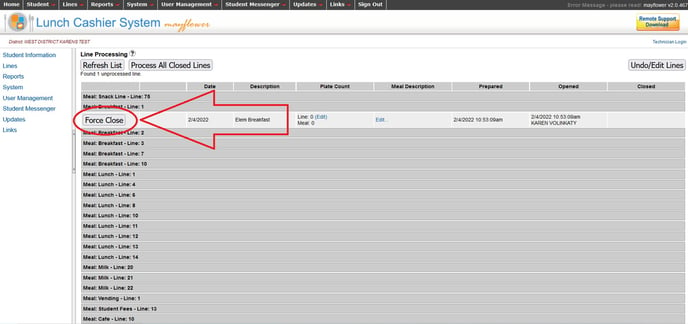
You will be asked to confirm the action. Click "OK."
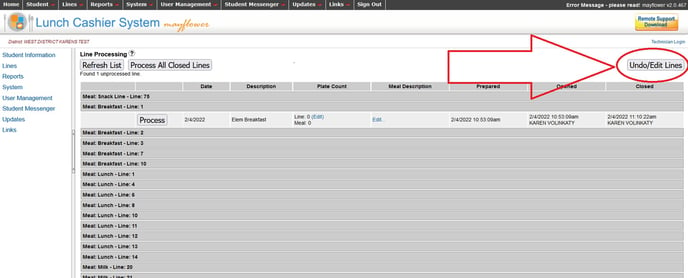
Click on the Undo/Edit button.
Enter the date you wish to move the transactions to.
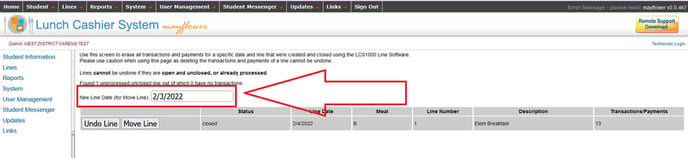
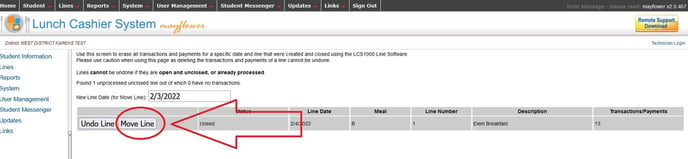
Click on the "Move Line" button.
Next, go back to the Lines tab>Serving Line Processing.

Verify the date.
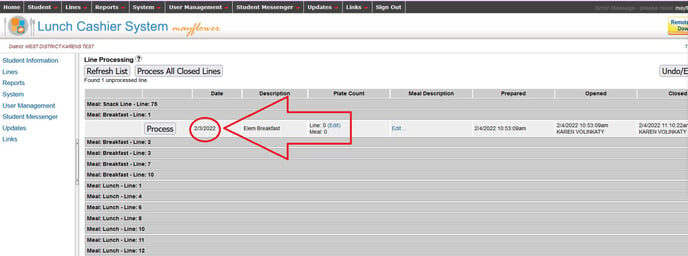
Click the "Process" button.
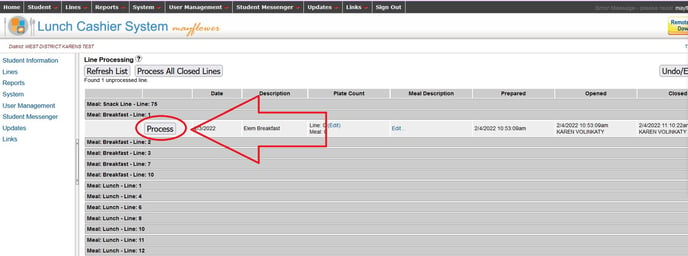
The Process button will create a report for the day you moved the line to and your line will be reopened and available to use for the current day's transactions.
If you have other previous dates to add, you may do more, as long as you haven't yet opened the line and added transactions for the current date.