- Help Center
- Lunch Cashier System
How do I remove a student's photo from the Lunch Cashier System?
This article will explain how to remove a student's photo in the lunch cashier system.
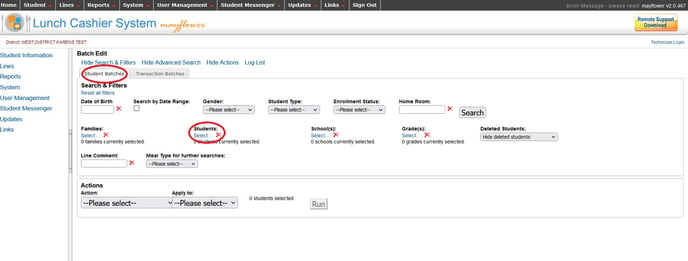
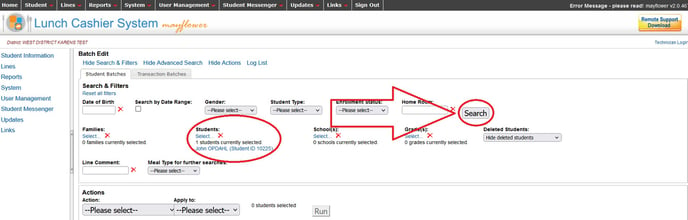
To remove a student's photo, go to LCS1000>Student tab>Batch Edit.

Go to Student Batches and click on Student select.
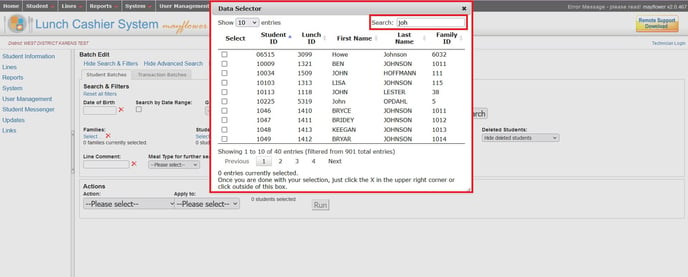
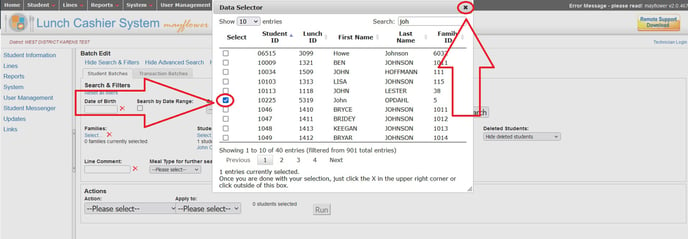
Use the Data Selector to search for and select the student(s) you need to remove the photo(s) for.
Click the "X" in the upper right hand corner to close the Data Selector box.
Click the "Search" button.
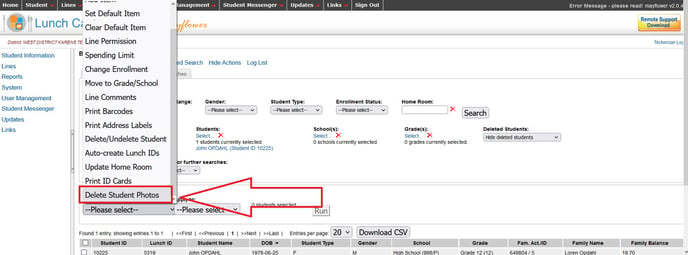
Under "Actions" select Delete Student Photos.
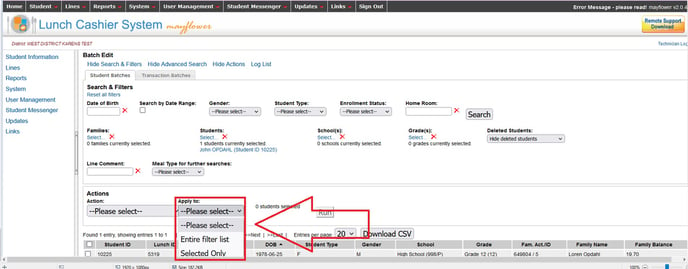
Under "Apply to" select either Entire Filter List or Selected Only.
Click the Run button.
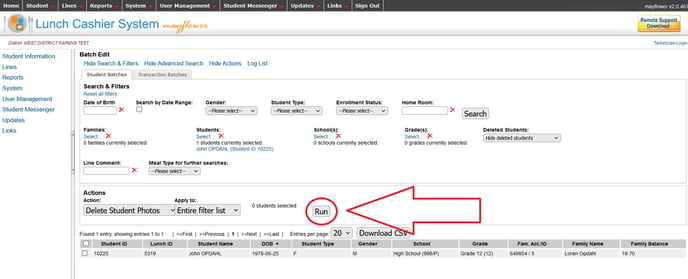
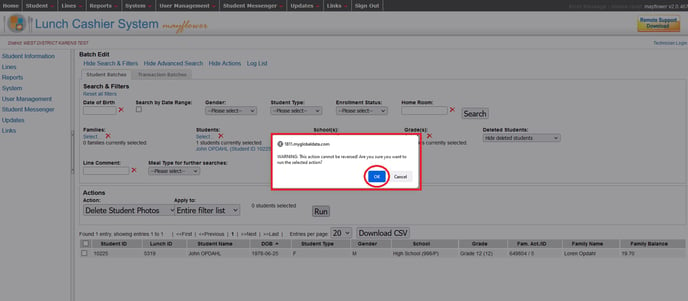
You will be asked to confirm the action. Click OK.
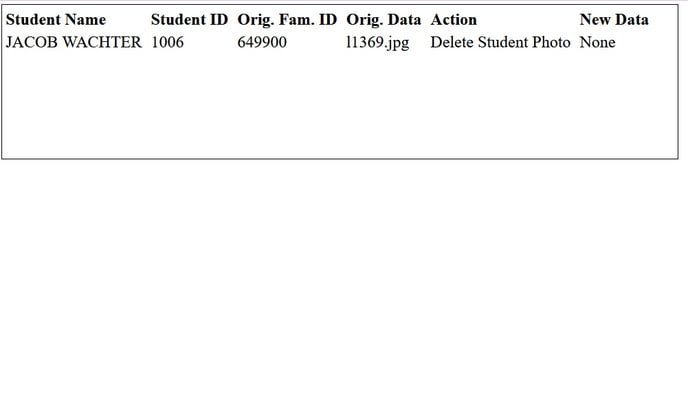
It is important to check your work by clicking on the Log file that appears in the Performing Action box.
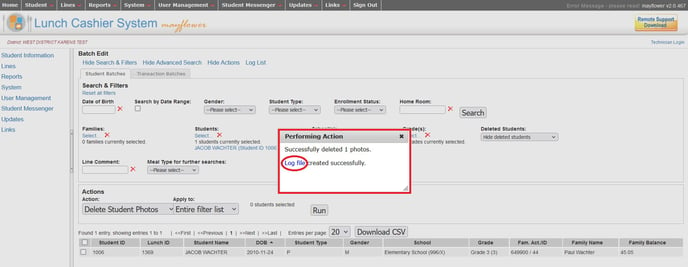
A sample Log file is shown here: