
This article will explain how to switch a menu item to a different menu item.
The Lunch Cashier System has a tool that will allow you to switch a previously sold menu item to a different menu item.
Critical Note: It is VERY important to remember this tool should only be used on a la carte items or staff menu items! It should NOT be used to switch reimbursable items if your school participates in the National School Lunch Free and Reduced Program because it does not take into account the student's free and reduced statuses. If you do need to change a reimbursable meal to a different reimbursable item (or an a la carte item to a reimbursable meal, you will need to first delete the item and then re-add the item using the appropriate Batch Edit Tools.)
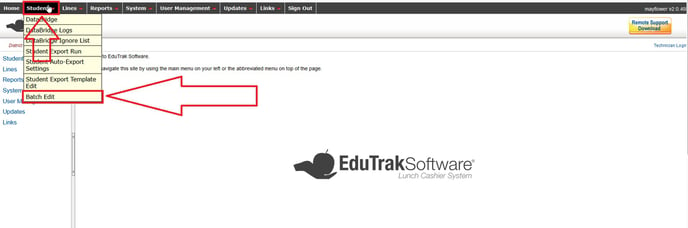
To switch a menu item with a different menu item, go the LCS1000>Student tab>Batch Edit, as seen here:
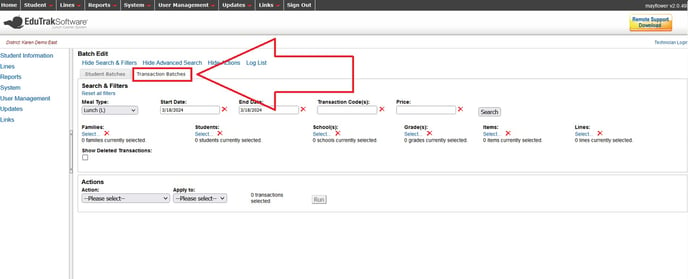
Go to the Transactions Batches tab. This is where all of your previously processed transactions are stored.
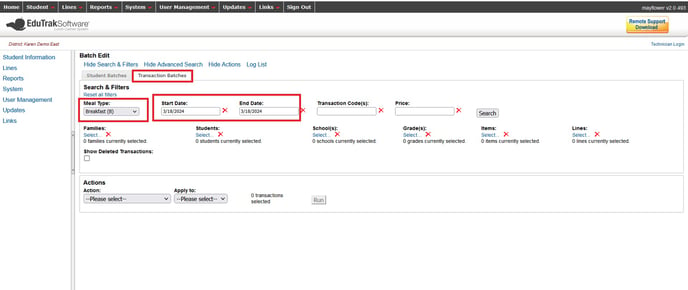
Search for the transaction using the Meal Type, Date and Student Name, as seen here:
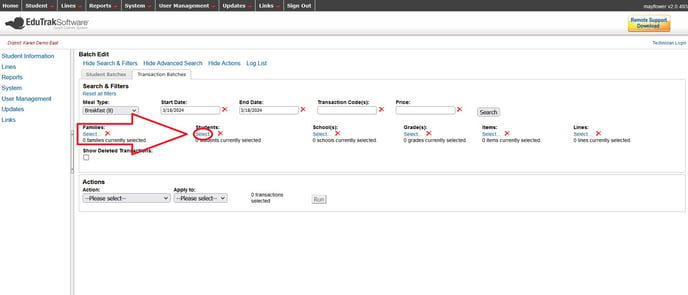
To search for the Student (or Staff) Name, click on the blue "Select" found under the Students option, as seen here:
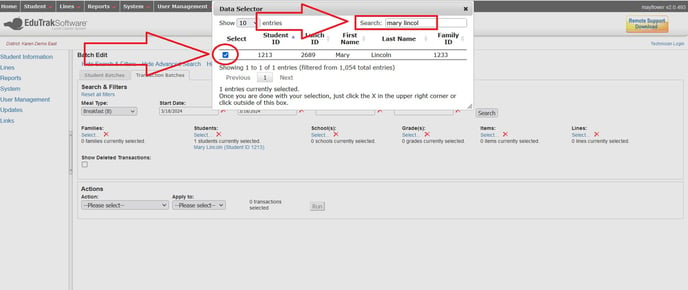
A data selector will appear. Use the Search function to search for the student or staff member's name. When you locate the student/staff member, check the box to the left of their name, as seen here:
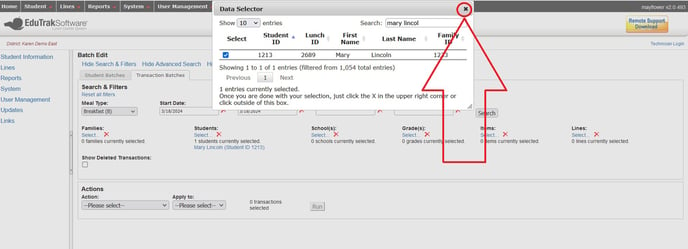
Next, close the Data Selector box by clicking the "X" in the upper right hand corner of the Data Selector box, as seen here:
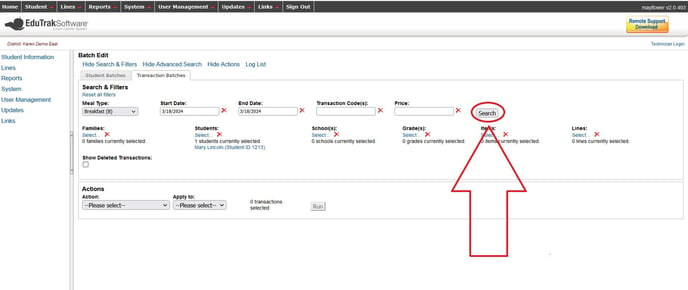
Now, click the Search button, as seen here:
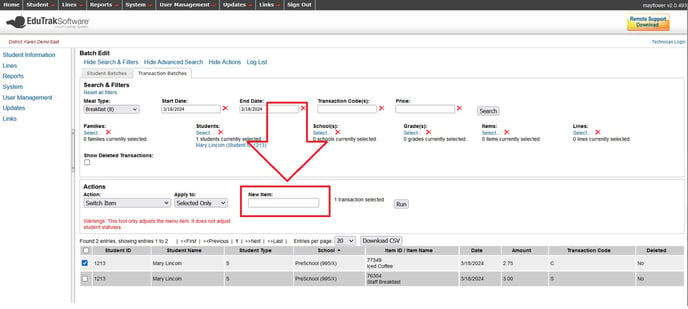
A list of transactions that fit the selected criteria will appear at the bottom of the page, as seen here:
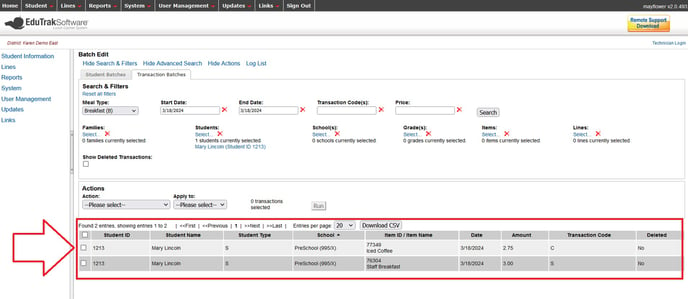
In this example, staff member Mary Lincoln purchased a Staff Breakfast and a Protein Shake. The cashier accidentally charged Mary for a Staff Breakfast and an Iced Coffee instead. We will use the Switch Item tool to swap the Iced Coffee for a Protein Shake.
Under Actions, select Switch Item, as seen here:

Under Actions, select "Switch Item." Under Apply to, select "Selected Only", as seen here:

Now, click in the New Item box, as seen here:
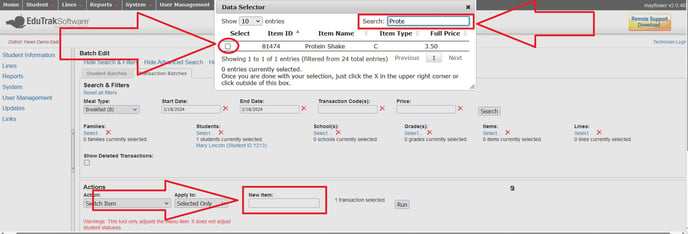
This will bring up a Data Selector box. Use the Search function to search for the item you are switching to. Once you have located the item, select it by checking the box to the left of the item name, as seen here:
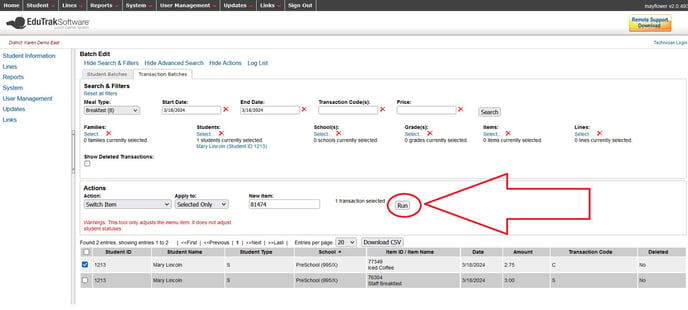
Next, click the Run button, as seen here:
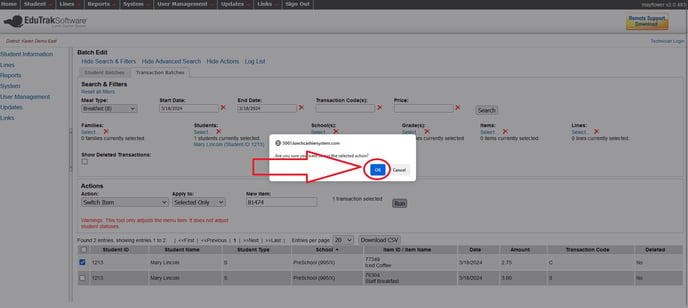
You will be asked to confirm you selection. Click the blue "OK" to confirm, as seen here:
A Performing Action box will appear. It is very important to check your work by clicking on the Log File that appears in the Performing Action box, as seen here:
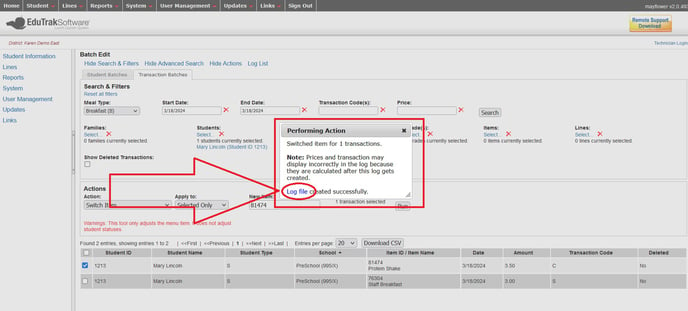
A log of your action will appear, as seen here:
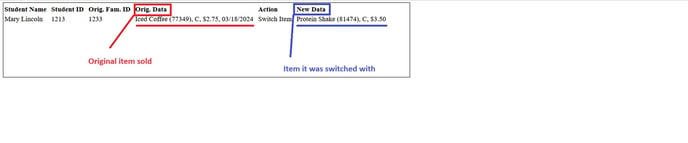
If the item was a different price, the family balance will be automatically adjusted to reflect the difference in price.