How to create and print barcode with Student Name and Lunch ID or Student ID
To Print Barcode:
- Sign onto the LCS1000
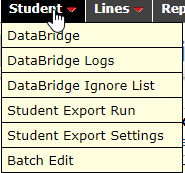
- Go to Students > Student Export Settings:
3. In Student Export Settings choose what to exclude (schools, student status, adults, etc). Make sure the file will be saved as a .csv file.
4. In Used Labels select desired label: Student Full name and Lunch ID are most ideal here.

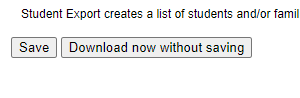
5. Click on ‘Download now without saving’.
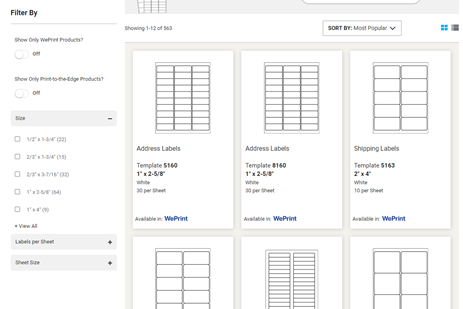
7. In Avery sign in and click on Template > Find a Template

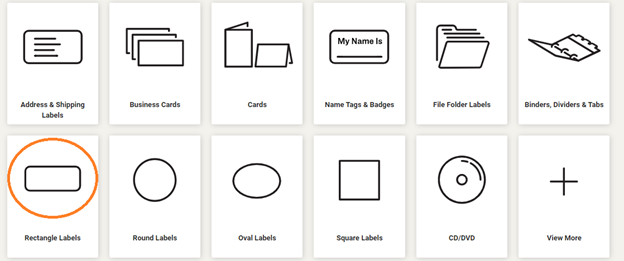
8. Select Templates by product category: Rectangle Labels are most common
9. If you know what template, you’ll be printing the label on you can find that template here
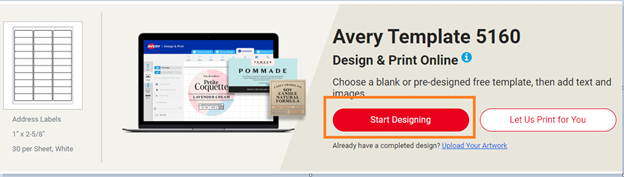
10. Once you selected your template > Click on Start Designing
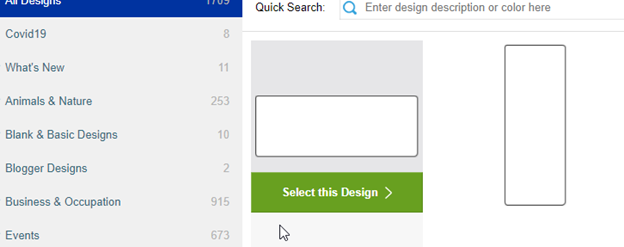
11. Select the blank design. Click on Select this Design.
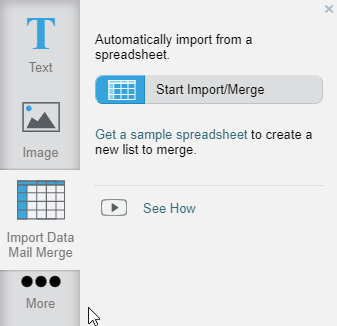
12. Select ‘Import Data Mail Merge’ > Start Import/Merge
13. Browse for the file > Select the file you had just saved from step 1 – 5. Keep in mind Avery only allows up to 3,000 rows. So you may need to chop your file into a few if it’s too big.
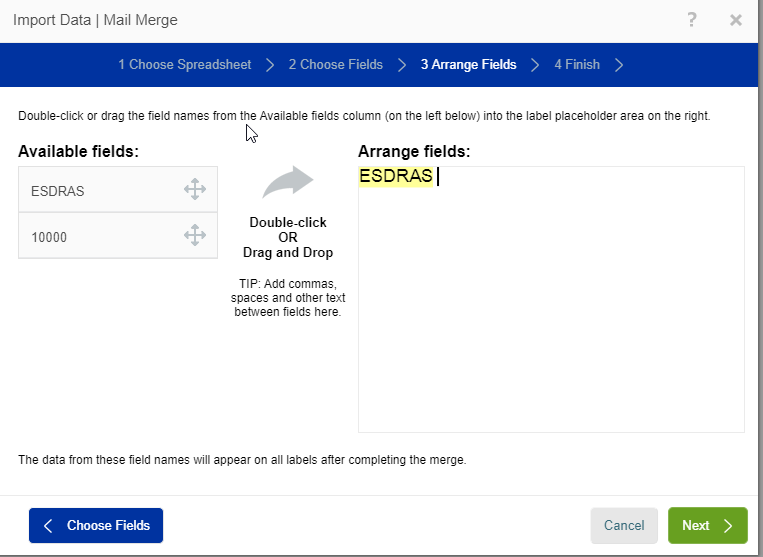
14. Click Next > Arrange your Available Fields to your Arrange Fields: You can space them, move them where you would like. Click Next > Finish
*I suggest just moving the student’s name over, do no move the student’s ID over yet*
15. Once you have adjusted the student’s name position where you’d like it, click on ‘More’ on the left > Select QR and Barcodes.
>


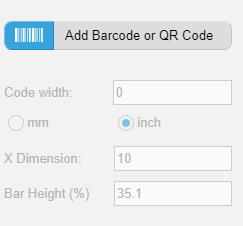
16. Click on Add Barcode or QR Code
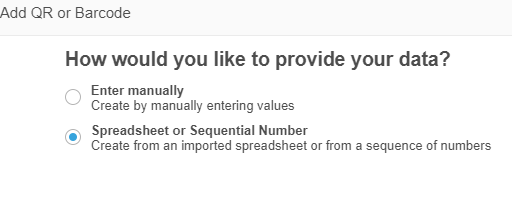
17. Select ‘Spreadsheet or Sequential Number’
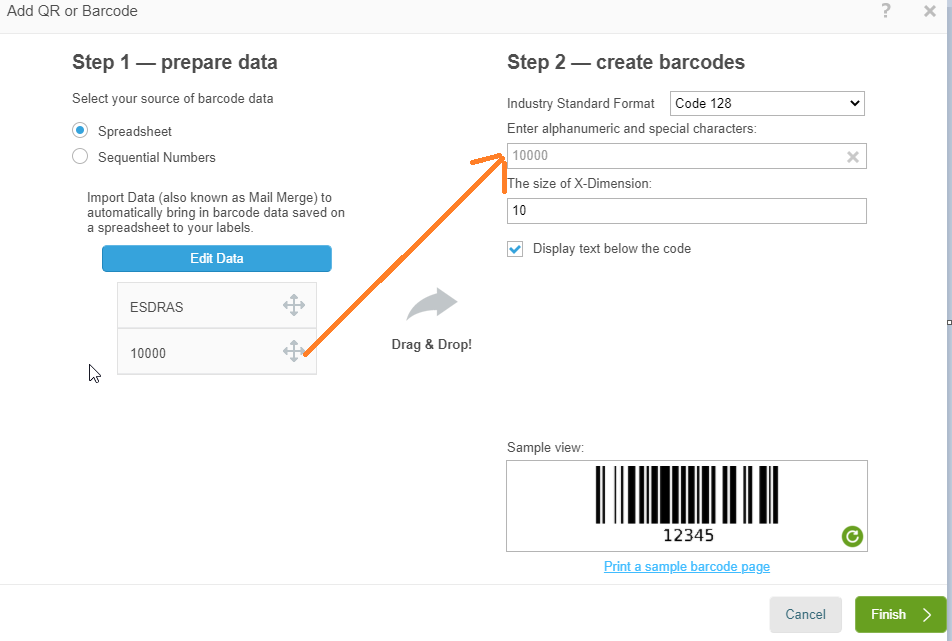
18. Drag the student’s Lunch ID under ‘Edit Data’ over to the create barcode in ‘Enter alphanumeric and special characters’ space > Click Finish
19. Your finish product should look like this: For example:
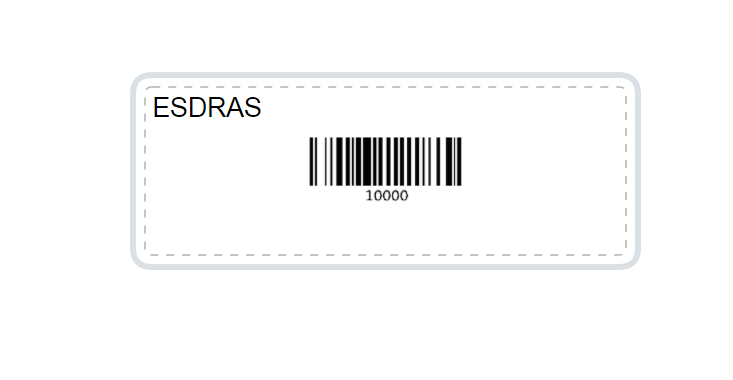
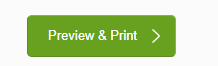
20. Click Preview and Print on the lower right corner. Make sure it looks good and print.