This article will review how to load a file and map the data fields.
At this point in the setup, the data file that is in the required directory to import automatically. The final step is to map the various data fields into the Wordware system.
In order to load the file, we have to map a share. The process changes based on your computer. If you already have to drive mapped or the file is accessible please skip to Importing the File
For Windows, please follow these steps.
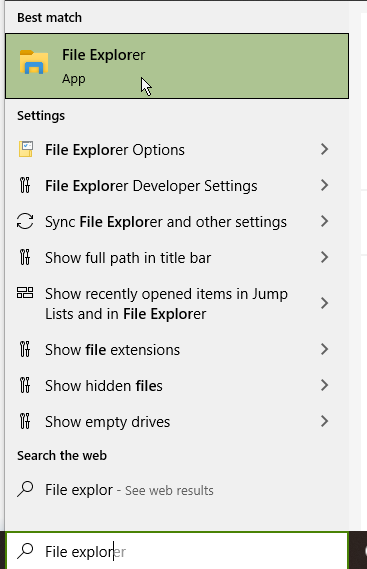
In your Windows search, type "File Explorer"
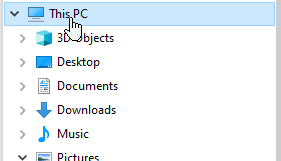
In the navigation bar on the left, click on "This PC"
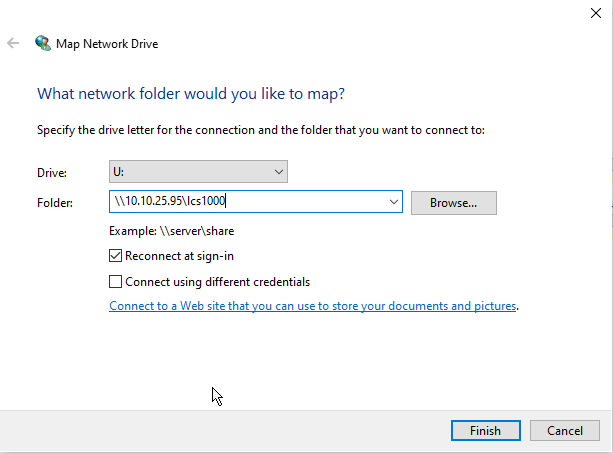
Along the top of the window, click on "Map network drive"
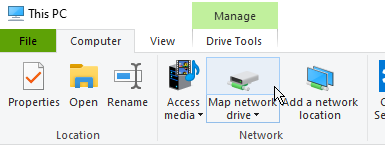
Select a Drive letter, we typically use L. Next type in the two backslashes and then the lcs1000's IP address, another backslash, and then the share name "lcs1000". Yours should look the same except for the IP address will be your own machines. If you are unsure, it is usually the same as the address you use when logging into the LCS1000.
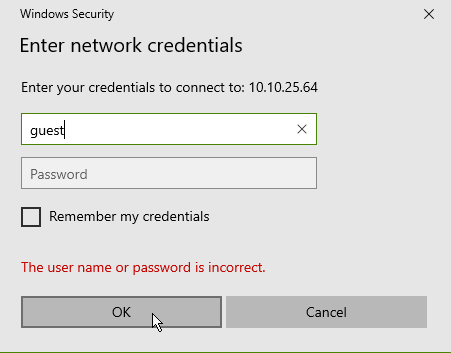
By default, this share allows guest access. By request, Wordware will lock the share with a username and password. You should be able to login with the username Guest and no password. If this does not work, please contact your district's DataBridge manager for the username and password.
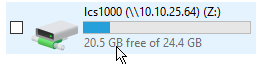
Under your File Explorer > My PC > you should now see the share drive available
Click on the share and you should see an import folder
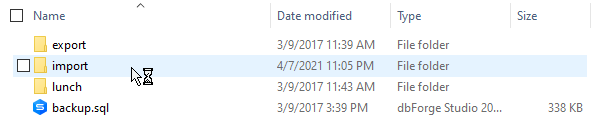
Click on the import folder and you should see your file there. If you can see the file there, then skip ahead to importing the file
For Apple's iOS, please follow these steps.
Importing the File
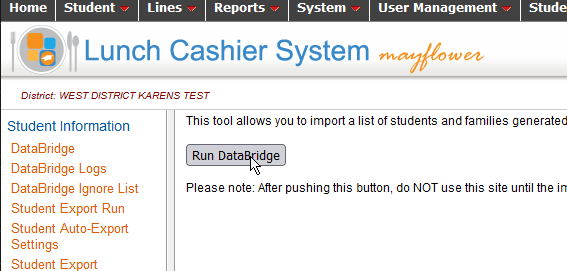
Now that we have the network share mapped we can browse to our data file and import it. Please login to your LCS1000 and click on Student > DataBridge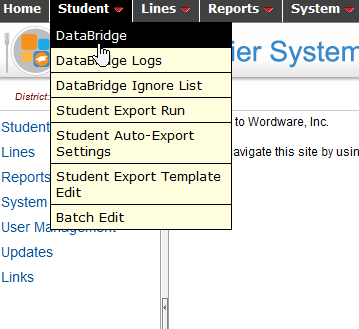
Then click on Run DataBridge > Browse
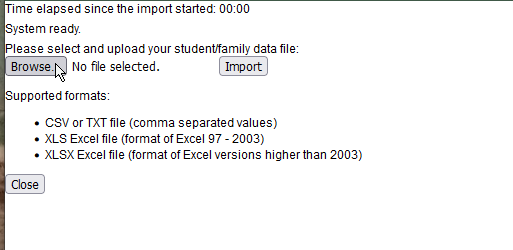
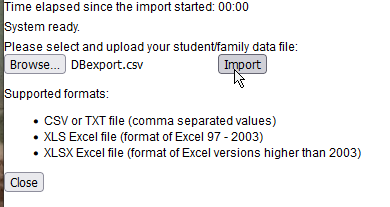
Navigate to the network share we just mapped. Click on the import folder and select the DataBridge file. The file name should appear next to the Browse button. Then click Import.
Step 2 is placing labels on the columns. The labels will look close to this example. Please follow the DataBridge Template to get all of the data that is required to run DataBridge.
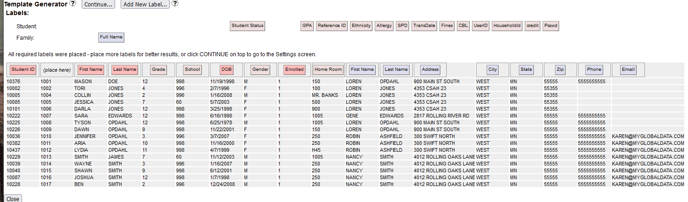
If the data is not in the same order as I have in my example that is okay as long as the required labels are placed.
Step 3 is to map the data so that our system can interpret it.
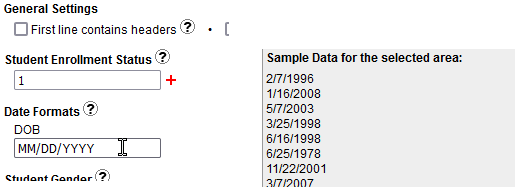
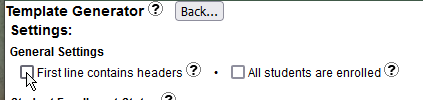
If your file contains a header line, you can tell the DataBridge to ignore that line during import b y checking the first box.
The Second box is if your file does not contain an enrollment code that includes withdrawn students. This is not recommended. The DataBridge does NOT withdraw a student if they are not in the file. The only way to withdraw a student using DataBridge is by having an enrollment code for them and including them in the file.
In the example below the student has enrollment code of 0 and the other students have an enrollment code of 1.

We will tell the DataBridge mapping that 1 is the code for enrollment. All other codes will mean withdrawn. In this example, the student will be withdrawn (not deleted) when the import runs.
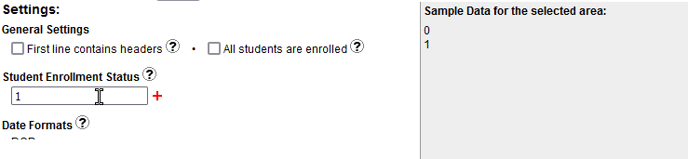
Please note that on the right hand side of the screen there is a grey box that will show sample data from that column of data when you hover the mouse over the text box. It is helpful when trying to map all the different data that is in the column.
For Date of Birth the format should always be MM/DD/YYYY for best results.